

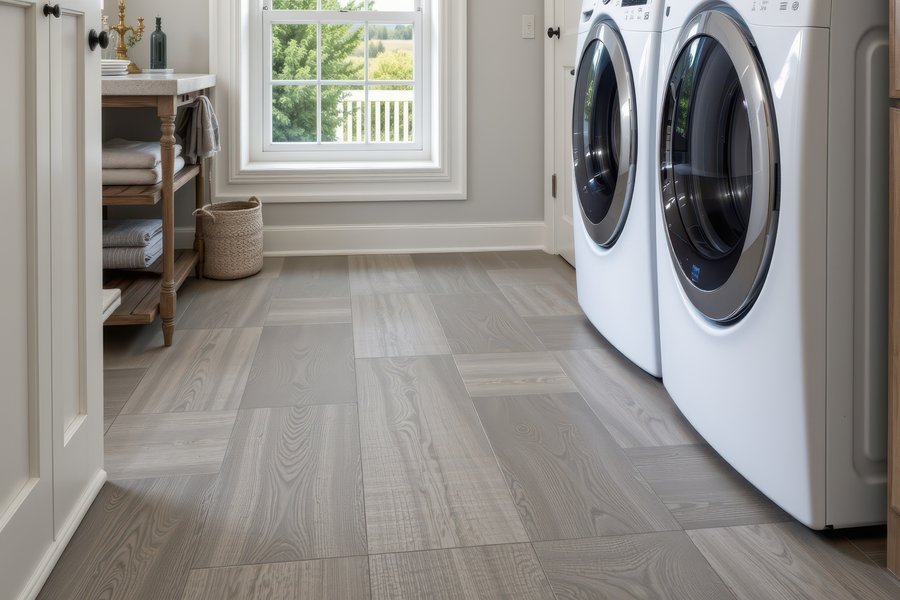
The laundry room might be one of the most overlooked spaces in a home when it comes to flooring, but it's actually one of the most moisture-prone rooms you have. Between a washing machine that vibrates across the floor, the occasional overflow, and the constant humidity that builds up during cycles, your laundry room floor takes a serious beating. If your current floor isn't properly protected, that moisture can quietly work its way into your subfloor, causing warping, mold, and costly damage over time.
The good news? Waterproofing your laundry room floor doesn't have to be a complicated ordeal. Whether you're starting fresh with a new floor or upgrading what you already have, these seven steps will help you protect your space the right way. Understanding how waterproof flooring actually works from the ground up is a great place to start before you pick up a single tool.
Why your laundry room floor needs extra protection
Most homeowners don't give the laundry room floor a second thought until something goes wrong. But this room experiences more moisture exposure than almost any other area in your home. Washing machines can leak or overflow without warning, and even normal operation creates humidity that settles on the floor. Without proper waterproofing, that moisture seeps into the subfloor, compromises structural integrity, and creates the perfect environment for mold growth. Taking the time to waterproof it correctly now means fewer headaches and repair bills later.
Step 1: Clear the room and assess what you're working with
Before anything else, move your washer, dryer, and any shelving or storage out of the room. Once the floor is fully exposed, take a close look at its current condition. Are there any soft spots, cracks, or visible water stains? These are signs that moisture has already been doing damage. If the subfloor feels spongy underfoot or you spot any signs of mold, those issues need to be addressed before you move forward. Trying to waterproof over a compromised subfloor is like painting over rust. It won't hold.
Step 2: Repair or replace the subfloor
If you found any damaged areas during your assessment, now is the time to fix them. Small cracks can be filled with a floor-leveling compound, but sections that are soft, warped, or showing mold need to be cut out and replaced entirely. A solid, flat subfloor is the foundation everything else depends on. Skimping here will undermine every step that follows. For significant subfloor damage, bringing in a professional flooring expert ensures the job is done right and that no hidden damage gets missed.
Step 3: Clean the surface thoroughly
Once any repairs are complete, give the entire floor a thorough cleaning. Remove any dust, debris, old adhesive residue, and grime. If you're working with concrete, a degreaser can help remove any oil stains that could prevent sealers or adhesives from bonding properly. The surface needs to be completely dry before you move on. Even a small amount of moisture trapped underneath your new floor can cause serious problems down the road.
Step 4: Apply a waterproof membrane or sealer
This is one of the most important steps in the entire process. A waterproof membrane or sealer creates a barrier between your subfloor and your finished flooring, blocking moisture from migrating upward. For concrete subfloors especially, this step is non-negotiable. Roll-on waterproofing membranes are available at most flooring supply stores and are relatively straightforward to apply. Make sure to follow the manufacturer's drying time instructions before moving on to the next step. Rushing this step defeats the purpose entirely.
Step 5: Choose the right waterproof flooring material
Not all flooring is created equal, and the laundry room is no place to cut corners on material selection. Tile is one of the most popular choices for laundry rooms because of its natural resistance to water and its durability under heavy use. Porcelain tile in particular holds up beautifully in high-moisture environments. Luxury vinyl is another excellent option for homeowners who want the look of wood or stone with the performance of a fully waterproof surface. Unlike traditional hardwood or laminate, vinyl flooring won't swell, warp, or buckle when exposed to moisture, making it one of the smartest choices you can make for a laundry room.
Step 6: Seal the edges and seams
Even the best waterproof flooring material can let moisture in through the gaps if the edges and seams aren't properly sealed. Once your flooring is installed, apply a waterproof caulk or grout sealer around the perimeter of the room, especially where the floor meets the walls and around any floor drains. If you've chosen tile, sealing the grout lines is a must. Grout is porous by nature, and unsealed grout will absorb moisture over time. Reapply grout sealer annually to keep that protection in place.
Step 7: Install a floor drain or check your existing one
If your laundry room doesn't already have a floor drain, this is worth adding to your project list. A functional floor drain gives overflow water somewhere to go instead of pooling on your newly protected floor. If you already have a drain, check that it's clear and functioning properly. Make sure it's set slightly lower than the surrounding floor so water naturally flows toward it. This small detail can save you from major water damage in the event of a washing machine leak or overflow.
A few bonus tips to keep your waterproofing working long-term
Even after following every step, a little ongoing attention goes a long way. Check washing machine hoses annually for wear and replace them before they fail. Consider placing a waterproof mat or tray under your washer and dryer to catch minor drips before they become bigger problems. Keep an eye on grout and caulk over time and reseal as needed. And if you ever notice any soft spots, discoloration, or musty smells coming from the laundry room floor, don't wait to investigate.
The laundry room doesn't need to be a worry spot in your home. With the right materials and a little proactive care, it can be just as durable and well-protected as any other room in the house. If you're weighing your options and wondering whether luxury vinyl could work over your existing subfloor setup, it's a question worth exploring with a flooring professional before you commit.
Let the flooring experts help you get it done right
At Area Flooring & Tile, we understand that a laundry room project might not feel as exciting as a kitchen remodel or a new living room floor, but it matters just as much. Our team is here to help you choose the right waterproof flooring and make sure it's installed properly from the subfloor up. We proudly serve homeowners throughout Crystal Lake, Palatine, Algonquin, Elgin, McHenry, Schaumburg, and the surrounding Northwest Chicago suburbs. Take advantage of our shop-at-home service and let us bring samples straight to your door so you can see how they look in your own space before you commit.


